How to Start Origami: A Practical Guide to Your First Folds
What to buy, what to ignore, and which model to fold first. A three-week path from a blank sheet to the crane, with no expensive supplies and no skipped steps.
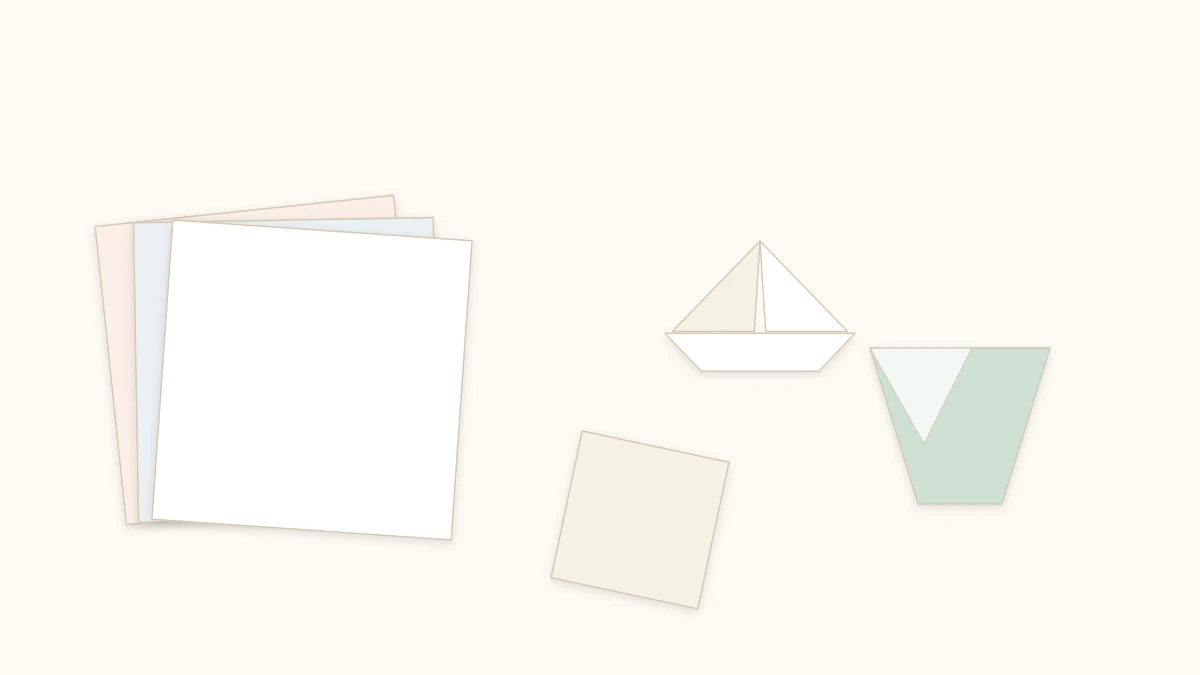
Paper folding has about the lowest barrier to entry of any craft: a sheet, a table, and twenty minutes. Even so, plenty of people stall right at the beginning. They buy paper that is too expensive, pick a model that is too complicated, and decide they have no knack for it. If you are wondering how to start origami, the problem is almost never manual skill. It is order.
What follows is one possible path for the first few weeks: what to buy, what to ignore for now, which folds to learn first, and in what sequence to try the models.
What You Really Need
The list is short, and half of what usually gets recommended can wait.
- Square paper. Any paper that holds a crease will do. Printer paper cut into a square is the best starting point, precisely because it is cheap enough to get wrong without a second thought.
- A hard surface. A table, a cutting board, a hardcover book. Folding on your lap or on the couch is the fastest route to rounded creases and crooked models.
- Your thumbnail. It is your creasing tool. Experienced folders use a bone or plastic folder, but that comes later, when the layers start getting thick.
What you do not need right now: glue, scissors, imported paper, a forty-color kit, a craft knife, a metal ruler. No model from the first few weeks calls for any of them.
Tip
If all you have at home is US Letter or A4 printer paper, you are set: a Letter sheet gives you an 8.5-inch square and an A4 sheet a 21 cm square, with one fold and one cut or careful tear along the crease.
Paper: When Buying the Real Thing Is Worth It
Purpose-made origami paper, called kami, is thinner than printer paper. It usually runs between 60 and 70 gsm, against about 75 gsm for standard copy paper. That difference sounds small and is not: in models that stack eight or sixteen layers at the same spot, it decides whether the last fold stays shut or springs open.
But that shows up in intermediate models, not the first ones. Buying kami in week one is like buying cleats before you know whether you like the game. Practice with what you have, and when you feel the paper fighting back (it will be obvious when it happens), that is the moment to choose carefully. The comparison of types and weights is in the best paper for origami.
The Folds That Get You Started
Folding has plenty of technical names, but the starter vocabulary is small. Two folds and one move cover every model in the first week:
- Valley fold. The paper comes toward you and the crease sits at the bottom, like a trough. In diagrams, a dashed line.
- Mountain fold. The same fold seen from behind: the paper bends away and the crease sits at the top. In diagrams, a dash-dot line.
- Squash fold. You open a layer from the base and press it flat in another direction, turning a triangle into a square or a hat into a diamond. It is the move that appears in the boat, the box, and many traditional models.
Everything else (pleats, reverse folds, petal folds) comes later, and is explained in basic origami folds when you need it.
How to Make a Crease That Counts
This is the part that rarely gets taught and that separates a clean model from a crooked one:
- Position the paper without pressing. Line up point to point, or edge to edge, and check from directly above.
- Hold the alignment with one hand and, with the other, press the center of the fold.
- Slide from the center out to the sides, running your nail along. Never from the corner toward the middle: that is how the paper slips and the alignment is lost.
A crease is a final decision. Once made, it becomes the reference for every fold that follows, and a small drift at the beginning turns into a large one by the end.

What Order to Try Your First Models In
The temptation is to begin with the crane (tsuru), because it is the origami everyone knows. It is also a common reason for giving up in the first week: it requires two bases, one built on the other, and four petal folds, which is a lot of new material at once.
A progression that works better:
| Stage | Model | What it teaches |
|---|---|---|
| First few days | Paper boat | The squash fold, twice |
| First week | Paper cup | Lining up points precisely |
| Second week | Masu box | Reference creases and 3D assembly |
| Second week | Bases | Kite, water bomb, preliminary, and bird |
| Third week | Crane | Petal fold and reverse fold |
It is not a rule, just an order of rising difficulty in which each model prepares you for the next. People who skip straight to the end tend to come back to the beginning anyway.

How Much to Practice
Origami responds well to short, frequent sessions. Twenty minutes, three or four times a week, generally gets you further than two hours on a Sunday, because the hand movements settle in better with a gap between attempts.
One habit that helps a lot: fold the same model three times in a row. The first is to understand it, the second to check yourself, and by the third you barely need the instructions. A model you have folded only once tends to fade from memory quickly.
Watch out
Paper does not go back. If a model went wrong halfway through, do not try to undo and redo it on the same sheet: the old creases are still there, and the paper will start folding itself in the wrong place. Grab another sheet. That is why you practice with cheap paper.
When the Model Does Not Look Like the Example
It happens to everyone, and the causes repeat: a soft surface, a misaligned point, paper too thick for the number of layers, rushing the crease. Each one has its own specific fix.
The most useful diagnostic is simple: fold the model again, paying attention to one thing at a time. On the first attempt, only alignment. On the second, only how firm the crease is. Trying to correct everything at once does not work.
Where to Find Reliable Models
Video is great for seeing the movement, but it creates dependence: you learn to follow, not to read. At some point it is worth learning to read diagrams, because that is how most of the world’s origami is recorded, including in books written in languages you do not speak.
Two organizations maintain public, dependable collections, useful once you want to move beyond the traditional models:
- The British Origami Society publishes open diagrams and video tutorials, organized by level.
- OrigamiUSA maintains a section of free diagrams and its own difficulty rating system.
Respect authorship, too: many models are traditional and in the public domain, but contemporary designs belong to the people who created them, and not every diagram can be freely republished.
How to Tell You Are Past the Beginning
There is no diploma, but the signs are reasonably clear. You have left the starter phase when you can fold a simple model without looking anything up, when you recognize the preliminary base in the middle of a diagram without needing the caption, and when you notice on your own that a crease went wrong before you reach the end.
From there the road opens in several directions: many-layered models, assembled flowers, modular pieces, specialty paper. None of that is a prerequisite for having fun with a sheet of printer paper, and the traditional models stay worth returning to no matter how far you go.
Frequently asked questions
Do I need to buy special origami paper?
Not to get started. Printer paper cut into a square covers the first few weeks and has the advantage of being cheap enough to make mistakes freely. Purpose-made origami paper (kami) makes a difference once models have many layers, because it is thinner and the creases close better.
What is the best first origami model to try?
A model with few folds and a recognizable result, such as the paper boat or the cup. Starting with the crane is common and tends to frustrate: it requires two bases and four petal folds, which is a lot of new material at once.
How long does it take to learn origami?
It depends on what you mean by learning. Folding simple models on your own usually takes just a few sessions. Reading a new diagram without getting stuck is a matter of weeks of spaced practice. There is no useful way to rush: today's sloppy crease shows up again in tomorrow's model.