Origami Dog and Cat: Two Faces From the Same Folds
The difference between the dog and the cat is the angle of the ears and one fold at the chin. Just a few folds for each, none of them demanding pinpoint precision.

Tutorial at a glance
Materials
- Square paper colored on one side
- Black pen for the face
The origami dog face and its companion, the cat, are staples of beginner origami books, and for good reason: both start from the same triangle, neither demands pinpoint precision, and the result is recognizable on the first try.
The difference between the dog and the cat comes down to three details — where the ears point, how much of the snout shows, and what you draw on the face.
The Shared Starting Point
For both models:
- Set the square as a diamond, with one point toward you and the colored side down.
- Fold it in half diagonally, bringing the bottom point up to the top. You have a triangle with the long edge at the bottom and the color on the outside.
This is where the two paths split.
Dog: Floppy Ears
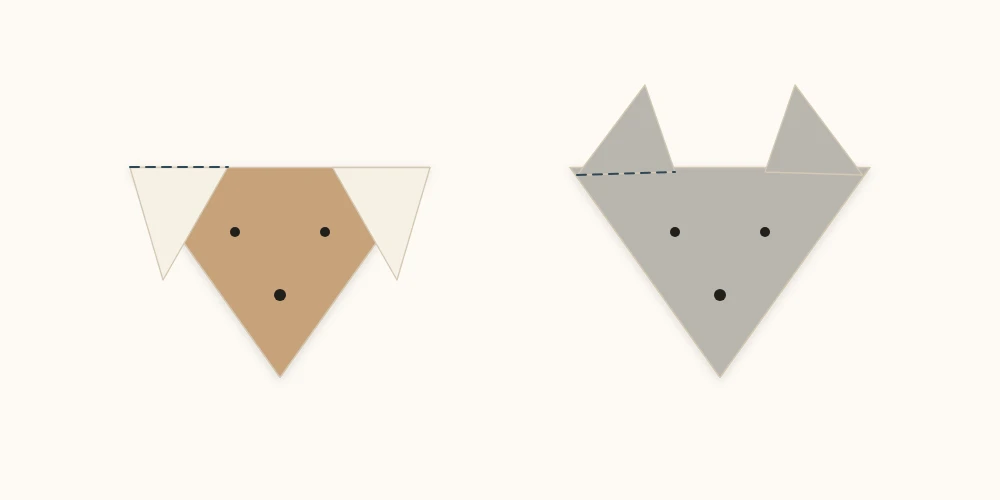
Turn the triangle so the long edge is at the top and the point faces down.
- Fold the left corner down. It comes down diagonally from a spot near the center of the top edge. This is the first ear.
- Repeat on the right at the same angle. Check the symmetry by comparing the two tips.
- Fold the bottom point up, front layer only, about a finger’s width. This crease forms the snout, and it shows in a different color if the paper is colored on one side only.
- Flip it over and draw the eyes and nose.
Ears folded close to the center leave the face narrow, like a puppy’s; folded wider apart, the face broadens and the dog looks more grown-up.
Cat: Pointed Ears
Now keep the triangle with the point facing down and the long edge at the top — the same position — but work with the lower part of the two side corners.
- Fold the left corner up diagonally so that it extends past the top edge. The tip that shows above the line is the ear.
- Repeat with the right corner.
- Fold the bottom point back, hiding it. This rounds off the cat’s chin.
- Flip it over and draw the eyes, a Y-shaped nose and mouth, and the whiskers.
Tip
The farther the ears extend past the top edge, the taller and pointier they get. For a cat with well-defined ears, start the folds from points closer to the center.
Why They Work So Well With Kids
Each face is four folds, all of them large, none requiring fine alignment. A child of four or five can usually follow along with help only on the first diagonal fold, and drawing the face at the end turns one activity into two: folding and personalizing.
Use large paper — 8 or 10 inches (20 or 25 cm) per side — for the first attempts. A bigger area means more room for alignment errors, and the result still looks like an animal. More suggestions by age group are in origami with kids.
Variations From the Same Triangle
| Change | Result |
|---|---|
| Very long ears, drooping down to the snout | Rabbit or basset hound |
| Short ears, rounded off at the back | Bear |
| Snout folded higher and small ears | Pig |
| One ear up and one ear down | Scruffy mutt — a favorite with kids |
That flexibility comes from the model having no rigid structure: everything is defined by the angle of the folds, not by bases or reference creases. It is the opposite of what happens in models like the crane (tsuru), where every step depends on earlier creases.
From Face to Body
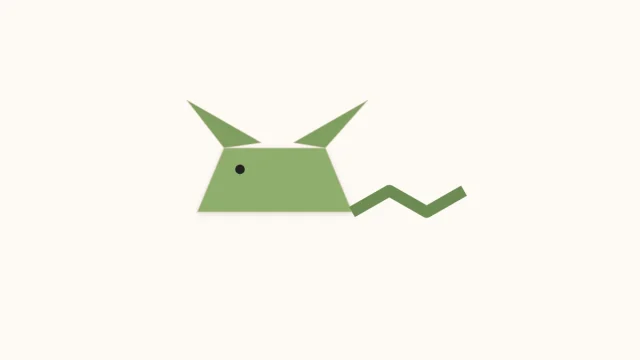
Both models produce only the head. The traditional body is a second square folded into a triangle, with one corner raised to form the tail:
- Fold a square diagonally into a triangle.
- Position it with the long edge at the bottom.
- Fold the right corner up diagonally to create the tail.
- Fit the head over the left corner, gluing it or simply resting it in place.
With the head and body in different paper sizes — say, 6 inches (15 cm) for the body and 4 inches (10 cm) for the head — the proportions look more natural.
Uses Beyond Playtime
In small 3-inch (7.5 cm) paper, both faces become pencil toppers, card decorations, and an origami bookmark — just glue the face onto the triangular pocket of a corner bookmark. It is one of the simplest combinations to make in batches as favors for a kids’ party.
Drawing the Face Without Ruining the Model
The drawing step decides a good part of the result, and it has two traps.
The first is ink that bleeds through. A broad-tip marker soaks thin paper and marks the reverse side, which stays visible in many models. A ballpoint pen, colored pencils, or a fine-tip marker solve the problem.
The second is the position of the eyes. Eyes set very high give the animal a serious, grown-up expression; eyes in the lower half of the face, set farther apart, produce the look of a baby animal. It is a tiny adjustment with an outsized effect, so try it on a scrap first.
A Whole Set of Animals With the Same Method
Because they all start from the same triangle, you can put together an entire collection in one sitting by changing only the angles:
- Cut six or eight squares in different colors.
- Fold them all diagonally into triangles.
- Vary the ears on each one — floppy, upright, long, short, one of each.
- Draw different snouts: round for a bear, triangular for a cat, flat for a pig.
With children especially, a set like this tends to spark more conversation than a single complex model, because every piece is their own decision.