How to Make an Inflatable Origami Easter Bunny
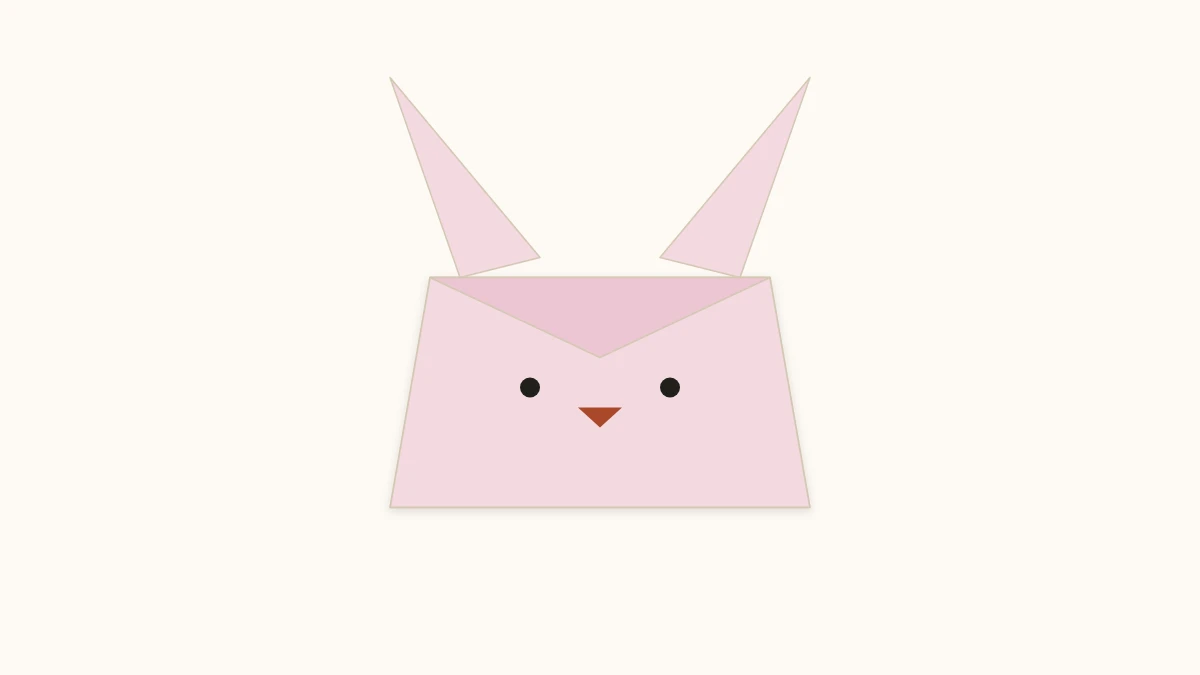
The bunny starts from a water bomb base and gets its volume from a single breath. It is the same principle as the traditional paper balloon, with two ears and a tweak at the nose.
Tutorial at a glance
Materials
- Square paper, 60 to 80 gsm
- A good breath for the last step
This inflatable origami Easter bunny is a variation on the traditional Japanese paper balloon: same base, same tuck-in locks, same puff of air at the end. The difference is two points that are not tucked inside and stand up as ears instead.
It is a truly three-dimensional model. It stands on its own, has volume, and can hold a piece of candy. It is also the model that best shows how the water bomb base earned its name.
Before You Start
Use a 6-inch (15 cm) square of paper between 60 and 80 gsm. Paper that is too thin tears when you inflate it; paper that is too thick will not let the points tuck in at step 5.
To use the bunny as a candy holder, go up to 80 gsm. The body has to carry the weight of the treat without collapsing.
Step by Step
- Fold a water bomb base. Colored side up, valley-fold the center lines, mountain-fold the diagonals, and push the sides in until the paper collapses into a four-layer triangle. The full sequence is in origami bases.
- Raise the side points. With the triangle resting on its long edge, fold the bottom left point up to the top corner; repeat on the right. Turn over and do the same on the back. You have a diamond.
- Narrow the sides. On the front face, fold the left point to the center and the right point to the center. Turn over and repeat. The model now looks like a long kite.
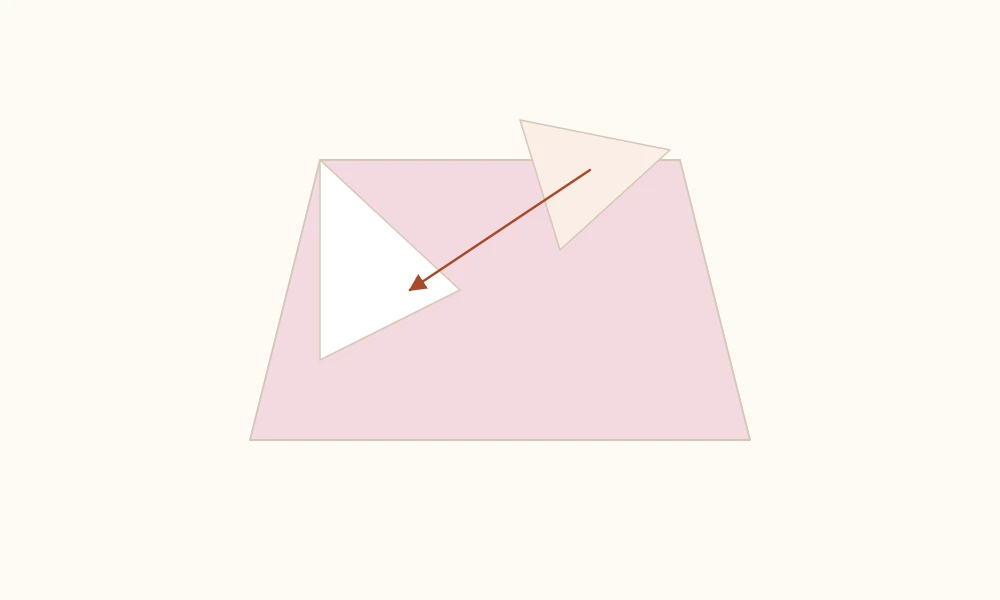
- Find the pockets. The folds in the previous step created two small triangular pockets at the sides, just above the center.
- Tuck in the flaps. Fold the loose top flap on each side down and slide it into the matching pocket. Repeat on the back face. These locks are what keep the body closed when it is inflated.
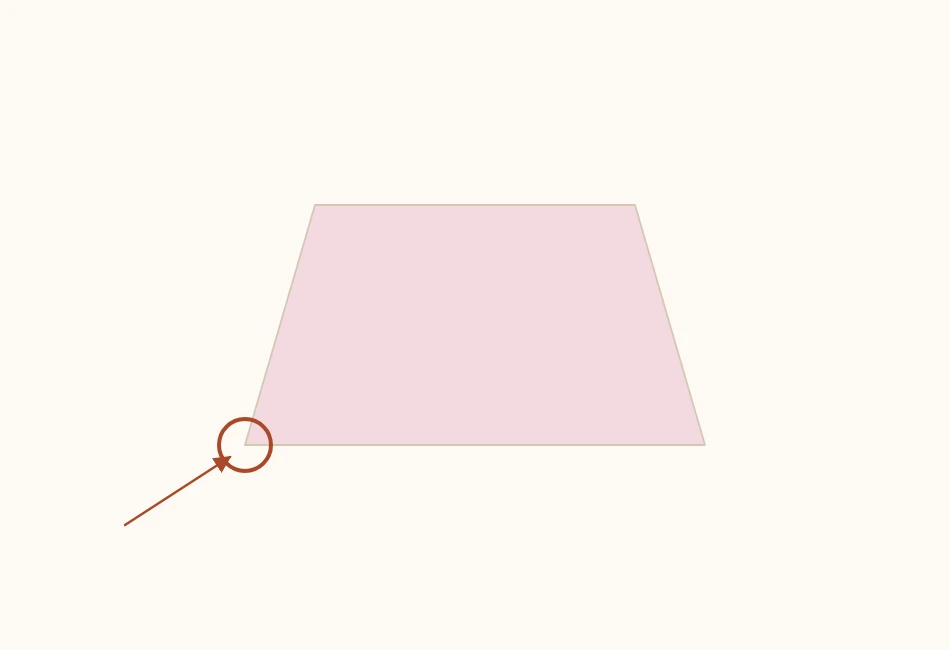
- Inflate. There is a small hole at one end. Hold the model by its sides, bring the hole to your lips, and blow firmly and unhurriedly. The body fills out and the bunny takes shape.
- Raise the ears. The two points left free at the top are the ears. Pull them up and outward and, if you like, curl them slightly with your fingers.
- Finish. Fold a sliver of the front tip inward to make the nose, and draw the eyes.
Watch out
If the bunny will not fill, it is almost always because one of the flaps from step 5 did not go into its pocket. The air escapes there. Check all four locks before blowing again, since forcing air into a poorly locked model only tears the paper.
Why It Deflates
| Problem | Cause |
|---|---|
| Goes flat within minutes | Flaps not tucked in properly; air leaks from the sides |
| Will not inflate at all | Hole blocked by the layers; open it with a fingernail |
| Inflates lopsided | Step 3 folds do not match on the two faces |
| Tears when you blow | Paper too thin or breath too forceful |
As a Candy Holder
Inflate the bunny first, and only then widen the hole carefully by twisting in the tip of a pencil. Slide the wrapped candy in through the hole. It stays visible inside, which is part of the charm.
For a party favor, a thin ribbon tied around the neck, between the body and the ears, adds a finished look and hides the opening. Together with a few small origami masu boxes, it makes for an entire Easter table made of paper.
Variations
Traditional Balloon
Skip step 7, tucking the two top points into the pockets as well, and the model becomes the classic balloon: an inflated paper cube. It is a good test. If the balloon closes and holds air, your folds are correct.
Sitting Bunny
Once it is inflated, press the base lightly against the table to flatten the bottom. The bunny stops rolling and sits steady.
Sizes
8-inch (20 cm) squares produce large bunnies that are easy to inflate and good as table decorations. 4-inch (10 cm) squares give small bunnies that work as a decoration at each place setting, but inflating gets much harder, because the hole shrinks in the same proportion.
With Kids
Blowing it up is the big draw, and it is exactly where the model fails when the folds are off. One split that tends to work: the adult folds the water bomb base and the locks, and the child does step 2, blows, and draws the face.
From about age eight, most kids can manage the whole sequence with someone alongside. More ideas by age are in origami with kids, and a flat bunny face, made from the same triangle as the origami dog with longer ears, is a much simpler alternative for the little ones.
The Water Balloon
The name of the base, water bomb, is not a figure of speech. The traditional balloon folded from it can be filled with water from a gently running faucet, through the same hole you blow into, and used as a summer toy.
It works for only a few minutes: the paper soaks through at the bottom layers and the balloon opens. Heavier paper, 90 gsm and up, stretches that time.
It is a use that explains why the model exists, and it tends to surprise people who know the balloon only as a decoration. Just say up front that it ends up soaked, so nobody is disappointed over a well-folded piece.
Setting an Easter Table
The inflatable bunny combines with other pieces from this site into a coherent arrangement:
| Piece | Role on the table | Suggested paper |
|---|---|---|
| Inflated bunnies | One at each seat, as a place marker | Pastel tones, 6 in (15 cm) |
| Masu boxes | Candy dishes at the center | Patterned paper, 8 in (20 cm) |
| Small pinwheels | Stuck into little planters | Colored on both sides, 4 in (10 cm) |
| Lucky stars | Scattered over the tablecloth | Scraps in any color |
Keep to a three-color palette across the whole set and the table holds together even with models of different origins. Mixing every color you have on hand is the most common mistake in this kind of decoration.
Frequently asked questions
Can the inflatable bunny hold candy?
Yes, as long as the paper is at least 80 gsm and the candy is wrapped. The hole you blow into is small, so the best approach is to inflate first, widen the hole carefully, and only then slip the candy in.