How to Make an Origami Box (Masu): One Sheet, No Glue, With a Lid
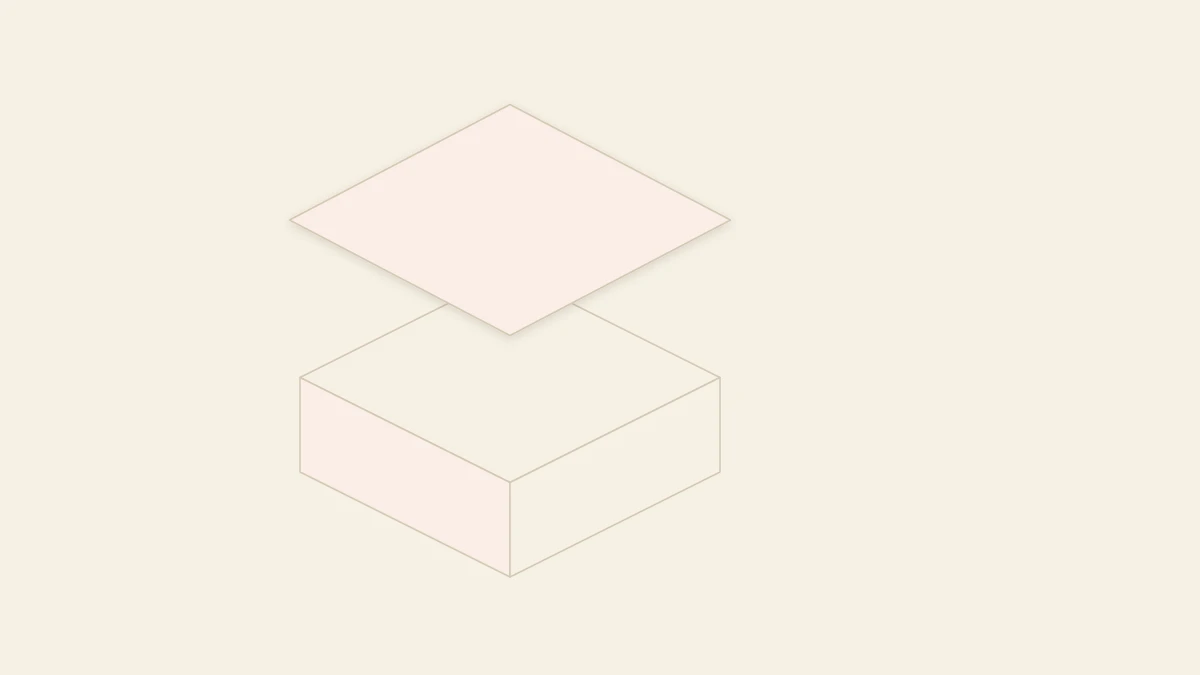
The masu is the traditional Japanese paper box: straight walls, a firm floor, and no glue. The same sequence with a slightly larger square gives you the lid.
Tutorial at a glance
Materials
- Square paper, 80 to 120 gsm
- Ruler, for measuring the lid
The masu is the traditional Japanese origami box, named after the old wooden boxes once used to measure rice. It comes from a single square, needs no glue or staples, and has straight walls that stay up because the paper locks into itself.
It is also one of the most useful models you can learn: a catch-all tray, a package for a small gift, or a dish for keeping tiny parts together while you work on another craft.
What Size Box to Expect
The rule of thumb is to divide the side of the square by three. A 6-inch (15 cm) square makes a box about 2 inches (5 cm) across and 1 inch (2.5 cm) tall; a 12-inch (30 cm) square makes a box about 4 inches (10 cm) across.
For a sturdy box, use paper between 80 and 120 gsm. Paper that is too thin lets the walls sag; above 150 gsm, the last folds refuse to close.
How to Fold the Box, Step by Step
- Start with the colored side down. Fold both diagonals, pressing firmly, and unfold them. They cross at the center.
- Fold all four corners to the center. Each tip lands exactly where the diagonals cross. You now have a smaller square, turned 45° from the original.
- Fold the top edge to the center and unfold. Fold the bottom edge to the center and unfold. These are reference creases only.
- Fold the left edge to the center and unfold; do the same on the right. The paper now carries a grid of creases.
- Open two opposite flaps, the top and the bottom, returning those two corners to where they started. The left and right flaps stay folded.
- Fold the left edge to the center and the right edge to the center, this time for good. These become the long walls of the box.
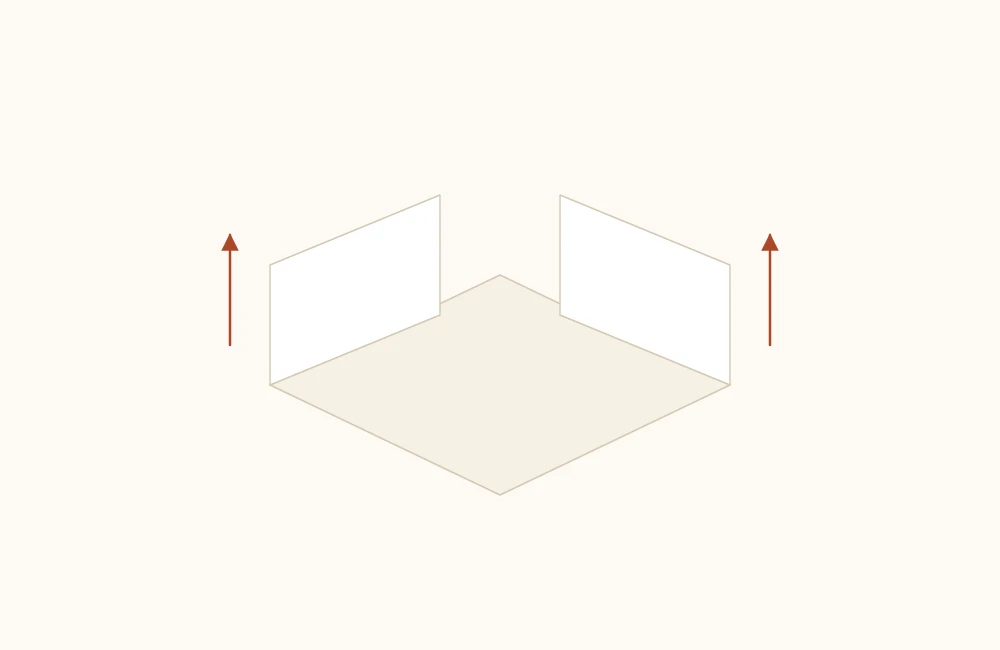
- Raise the walls. Hold the two edges you just folded and lift them until they stand at a right angle to the base. The square floor of the box is already drawn by the creases.
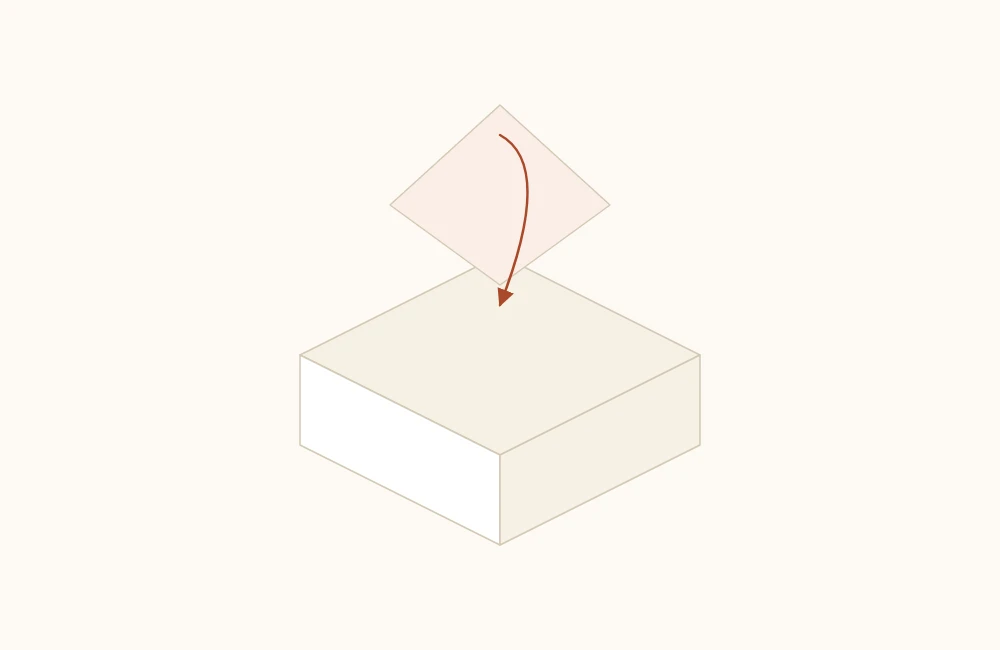
- Close the first end. Take the open top corner and bring it into the box: its sides collapse inward while the tip comes down onto the floor. Press to lock.
- Repeat with the bottom corner. The box is closed.
- Square it up by pressing the floor from the inside with your fingers and pinching the corners from the outside.

Watch out
Step 8 is the only truly three-dimensional move in the model, and it is where most people get stuck. If the tip will not come down, check that the creases from step 3 are sharp, because that is where the paper has to bend. Without them, the corner has nowhere to fold.
The Lid
The lid is exactly the same box, folded from a slightly larger square. The right difference is about 1/8 to 3/16 inch (3 to 5 mm) on each side:
| Box paper | Lid paper | Result |
|---|---|---|
| 6 in (15 cm) | 6 in + 1/8 in (15.3 cm) | Snug fit, thin paper |
| 6 in (15 cm) | 6 in + 3/16 in (15.5 cm) | Comfortable fit, everyday use |
| 6 in (15 cm) | 6 in + 3/8 in (16 cm) | Loose lid, slips off easily |
Thicker paper calls for the larger allowance, because the walls take up more room. If your lid turned out tight, you do not need to start over: gently spread the walls of the bottom box by pressing from the inside.
Useful Variations
Box With Dividers
Small boxes nested inside a larger one create compartments. Because the base is always one third of the paper, the math is easy: a box folded from an 8-inch (20 cm) square fits boxes folded from 4-inch (10 cm) squares two across.
Tall Box
In step 6, instead of folding the edges all the way to the center, stop a little short. The walls come out taller and the base smaller. It is a small adjustment that changes the final proportions quite a bit.
Patterned Paper Box
The side that ends up showing is the one that faced down at the start, so paper printed on one side only works perfectly here. Just begin with the pattern facing the table.
What to Use It For
Folded from nice paper, a masu handles small-gift packaging without a store-bought box: a pair of earrings, a piece of jewelry, a chocolate. In plain paper, it organizes paper clips, rubber bands, and screws.
One idea that works well at parties: several boxes of the same size, each holding a small favor, arranged like a mosaic on the table. They pair nicely with folded origami envelopes and with origami lucky stars, which can go inside.
If locking the walls felt difficult, practice first on a simpler three-dimensional model such as the origami paper cup. It uses the same idea of locking by overlap, with fewer layers.
Working Out the Paper for a Specific Size
Most of the time you work backward: you know what has to fit inside and need to find the paper.
Since the base of the box is about one third of the square, the calculation is direct: multiply the inside measurement you want by three. For a box with a 3-inch (7.5 cm) base, use 9-inch (22.5 cm) paper; for a 1.5-inch (4 cm) base, 4.5-inch (12 cm) paper.
The height follows along: it comes out at around half the base, or roughly one sixth of the paper’s side. If you need a deeper box, use the tall-box adjustment above and stop the step 6 folds short of the center.
Reinforcing It for Real Use
A masu in 80 gsm paper looks good but gives way when it holds anything with weight. Three reinforcements keep the model free of visible glue:
- Double box. Fold two identical boxes and nest one inside the other. The walls double in thickness and the floor turns rigid.
- False bottom. A square of cardboard cut to the size of the base, resting inside. It fixes the floor without changing the walls.
- Heavier paper for the bottom box only. Box in 150 gsm, lid in 100 gsm. The lid still closes easily and the base carries more.
Tip
For a box that will be handled often, run a fingernail down the four vertical corners once it is assembled. They keep the box square, and they are the first place it loses its shape with use.
Frequently asked questions
What size box does a 6-inch square make?
A base of roughly 2 x 2 inches (5 x 5 cm) with walls about 1 inch (2.5 cm) tall. The rule of thumb is to divide the side of the square by three: that is the approximate width of the finished box.
How do I make the lid fit?
The lid is the same box folded from a square about 1/8 to 3/16 inch (3 to 5 mm) larger on each side. Less than that and it will not go on; much more and it sits loose. With thick paper, use the full 3/16 inch (5 mm).