How to Arrange an Origami Flower Bouquet That Stands Up
Folding the flowers is the easy part. What decides the result is the proportion between height and vase, an odd number of stems, and the trick of giving each flower a different height.
Tutorial at a glance
Materials
- Origami flowers, already folded
- A low, heavy vase
- Floral foam or uncooked rice, to hold the stems
- Thin tape
Folding the flowers is the easy part. What separates a beautiful origami flower bouquet from a heap of colored paper are decisions that have nothing to do with folding: how many flowers to use, at what heights, in which container, and how to keep everything from tipping to the same side.
This guide assumes you already have folded flowers — origami tulips, lotus flowers, or any others — and deals only with putting them together.
How Many Flowers
Odd numbers work better. It is a long-standing florists’ convention with a simple explanation: with an even number, the eye tends to group the flowers in pairs and the arrangement looks divided; with an odd number, it reads the group as a whole.
| Quantity | Result | Suggested container |
|---|---|---|
| 1 flower | Accent piece, side table | Tall, narrow vase |
| 3 flowers | Minimal arrangement, dining table | Glass or low vase |
| 5 to 7 flowers | Compact bouquet, the most versatile | Medium-mouthed vase |
| 9 to 15 flowers | Party arrangement, large table | Wide, heavy vase |
Different Heights
The most common mistake in paper arrangements is making every stem the same length. The result is a flat surface of flowers with no depth.
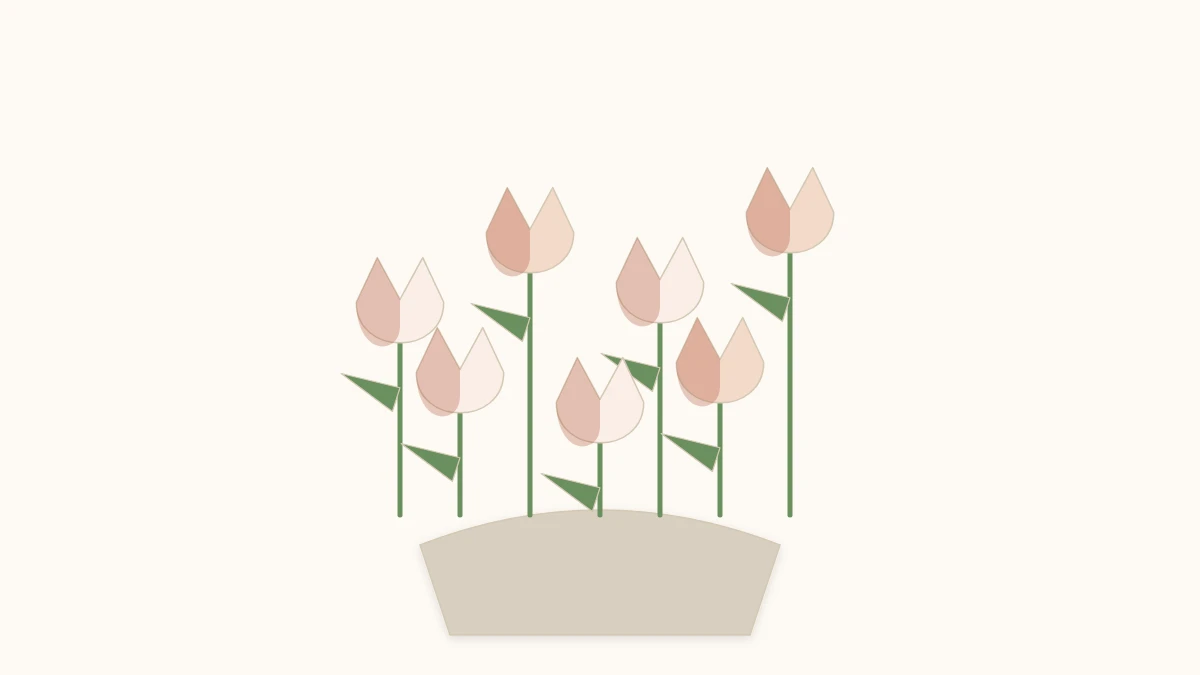
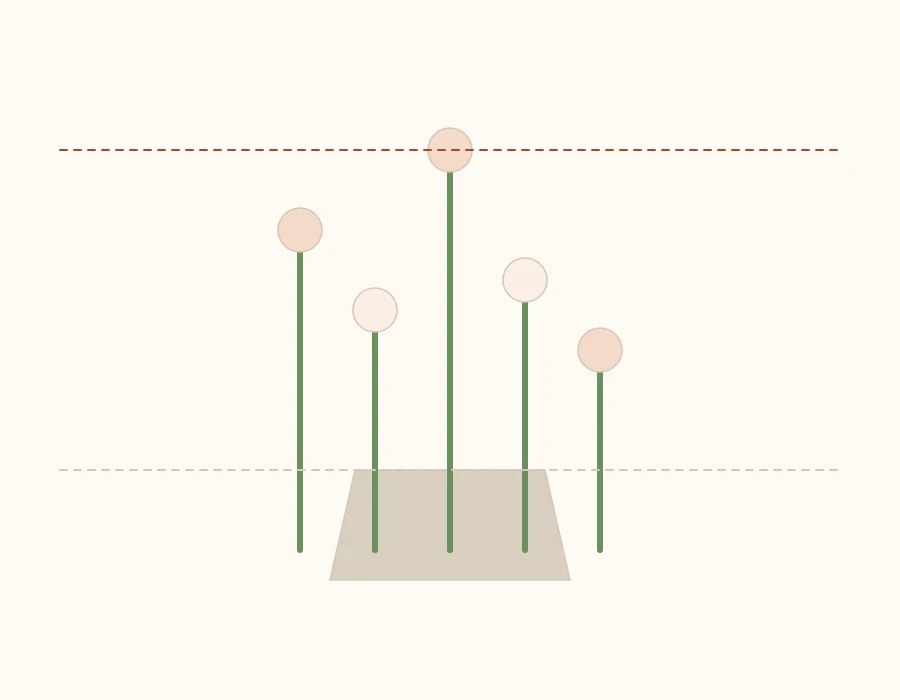
A proportion that works: the tallest flower should be about one and a half times the height of the vase, with the rest spread over at least three distinct heights below it. Shorter flowers go at the front and edges; the tallest go at the back and center.
Because origami stems are folded rather than cut, you adjust the height during assembly: push the stems deeper into the vase to shorten them.
Stems That Don’t Bend
The weak point of any paper flower is the stem. Three ways to reinforce it, from simplest to most durable:
- A bamboo skewer inside. Insert the skewer before folding the stem in half. It disappears inside the paper and takes care of the support.
- Floral wire. Sold in craft stores, it lets you bend the stem and keep the bend — useful for giving the arrangement some movement.
- A paper straw. Slip the folded stem inside a rigid straw. This works well when the flower is large.
Tip
Reinforce the stems before you assemble, never after. Once the arrangement is done, adding a skewer means taking everything apart — and paper flowers that have been handled too much lose their crisp finish.
What to Put Inside the Vase
Paper flowers do not have the weight to stay put on their own. Without filler, they all slide to the rim.
- Dry floral foam is the best option: the stems stay exactly where you place them. Cut a block to the size of the vase and wedge it in.
- Uncooked rice, dried beans, or sand work well and are what most people have at home. They add weight to the vase and hold the stems.
- Aquarium gravel does the same job and looks good in a glass vase.
Whatever the filler, it needs to reach at least two-thirds of the way up the vase. Shallow filler leaves the stems wobbling.
Assembly, Step by Step
- Start with the central, tallest flower. It sets the height of the whole arrangement.
- Add three flowers around it at intermediate heights, forming a triangle when seen from above.
- Fill in the edges with the shortest flowers, tilting them slightly outward.
- Turn the vase and look at the arrangement from every side. Bouquets built from the front tend to be empty at the back.
- Adjust the angles of the leaves last. They fill the gaps between flowers and disguise the stems.
Color Combinations
Two approaches give predictable results:
Monochrome. A single color in three different shades, plus the green of the leaves. It is the easiest to get right and the one that best shows off the shape of the flowers — especially useful when the models are complex.
Two colors and a neutral. For example, pink and white with green leaves. Keep one of the colors clearly dominant, at around two-thirds of the flowers; colors in equal amounts compete with each other.
Patterns call for caution: in an arrangement, several different prints turn into visual noise. If you use patterned paper, save it for one or two accent flowers and make the rest in solid colors.
How Long It Lasts
A paper bouquet lasts for years, as long as it stays away from two things: direct sunlight, which fades paper within weeks, and humidity, which softens the creases and makes the flowers genuinely wilt.
Dust is the third enemy, and the easiest to deal with: a hair dryer on the cool setting, held about a foot (30 cm) away, cleans the arrangement without touching it.
Variation: A Hand-Held Bouquet
For a bouquet that will be carried rather than displayed, the process changes. Tie the reinforced stems with twine about 4 inches (10 cm) below the flowers, wrap the bundle in a large sheet of kraft paper, and tie a ribbon over it.
In this format, the arrangement needs to be tighter and more rounded when seen from the front — and stemless flowers such as the lotus do not work well. Build a hand-held bouquet around models with a firm stem.
Transporting It Without Wrecking It
An assembled paper arrangement does not travel well by car. What works is carrying it in pieces and assembling it on site:
- Carry the flowers separately, in a shallow box, without stacking.
- Bring the stems already reinforced, lying flat, in a cardboard tube or rolled in paper.
- Bring the vase and filler separately.
- Assemble at your destination, working from the central flower outward.
Putting together a seven-flower arrangement on site is a matter of minutes — less trouble than repairing crushed petals.
How Much Paper to Plan For
A useful bit of math before you start folding, based on tulips, which use two squares each. The times are rough estimates and depend on your pace:
| Arrangement | Colored squares | Green squares | Estimated time |
|---|---|---|---|
| 3 flowers | 3 | 3 | about 1 hour |
| 7 flowers | 7 | 7 | 2 to 3 hours |
| 15 flowers | 15 | 15 | a full afternoon |
A standard 100-sheet pack of origami paper comfortably covers even the largest of these arrangements, with material left over to redo any flowers that come out crooked. Check the weight first: stems need firmer paper than flowers do, as explained in the guide to the best origami paper.
A Mixed Arrangement That Works
Combining different models usually has more charm than repeating the same one fifteen times. A balanced composition for a medium vase:
- Five tulips in two closely related shades, at the taller heights.
- Three lotus flowers resting on the rim of the vase, low, filling in the base.
- Two or three sprigs made only of stems with leaves, no flower, to break up the regularity.
The last item is the one that tends to get forgotten. In natural arrangements, not every stem ends in a flower — and reproducing that makes the whole thing look less artificial.