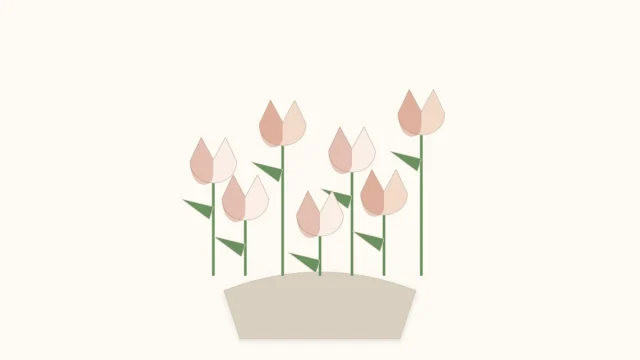
Origami Tulip with Stem: Flower and Stalk Step by Step
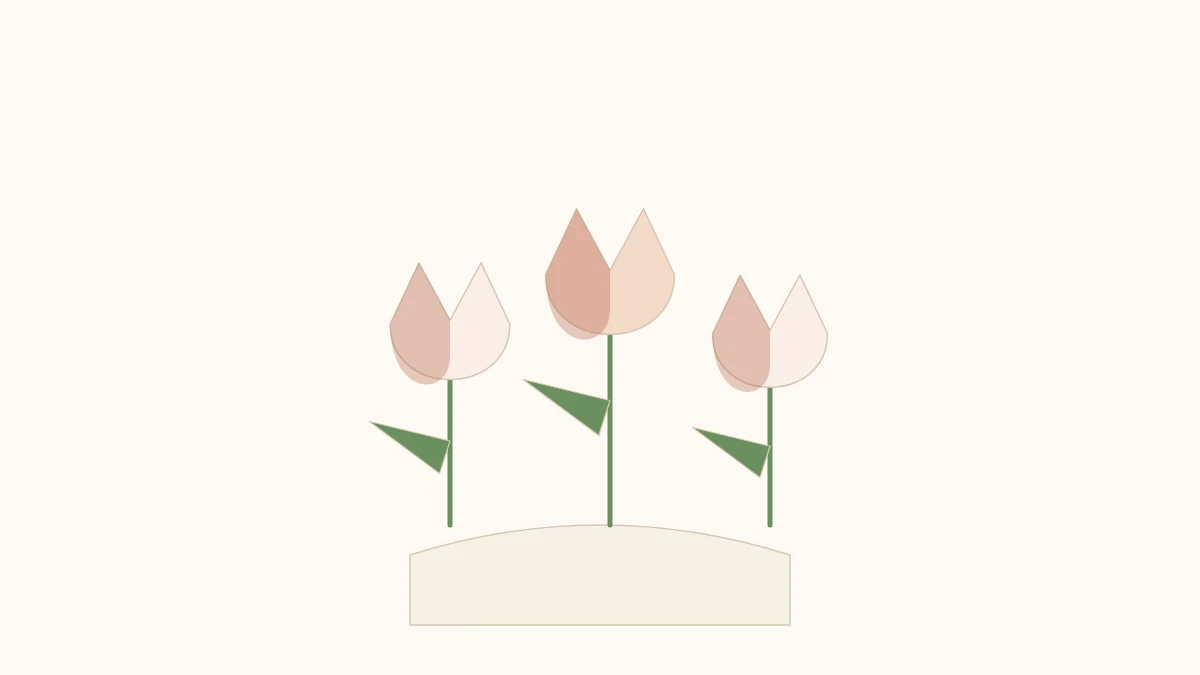
The flower comes from the waterbomb base and the stem from a second square, with a leaf that appears when you pull out the inner layer. The two pieces fit together without glue.
Tutorial at a glance
Materials
- Colored square paper for the flower
- Green square paper for the stem
The origami tulip offers the best ratio of effort to result of any paper flower. The bloom comes out of the waterbomb base in a few minutes, the stem is a second square folded in a handful of moves, and the two pieces fit together without glue: the stem goes into the hole left at the bottom of the flower.
Part 1: The Flower
- Fold a waterbomb base with the colored side facing up. If you need to review the sequence, it is in origami bases. You end up with a four-layer triangle.
- Raise the front points. Fold the bottom left point up to the top corner; repeat with the right. The front face becomes a diamond.
- Turn over and repeat on the back, so both sides match.
- Close the sides. On the front face, fold the left point toward the right, crossing a little past the center. Then fold the right point over it, tucking one inside the other. This overlap is what locks the flower.
- Turn over and repeat the overlap on the other side.
- Inflate the flower. There is a small hole at the bottom point. Blow into it gently: the body of the tulip opens and takes on volume.
- Open the petals. Fold the four top points outward, curling them with your thumb without setting a hard crease.
Tip
If blowing does not open the flower, the hole is probably blocked by the layers from step 4. Ease the points apart slightly with a fingernail before blowing, without undoing the overlap.

Part 2: The Stem
Use a green square the same size as the one for the flower.
- Turn the square so it sits as a diamond. Fold it in half vertically and unfold, marking the center line.
- Fold a kite base. Fold the two upper edges to the center crease.
- Narrow it further. Fold the two long edges to the center again. The shape is now long and very thin.
- Fold it in half backward along the vertical line, leaving a narrow stem.
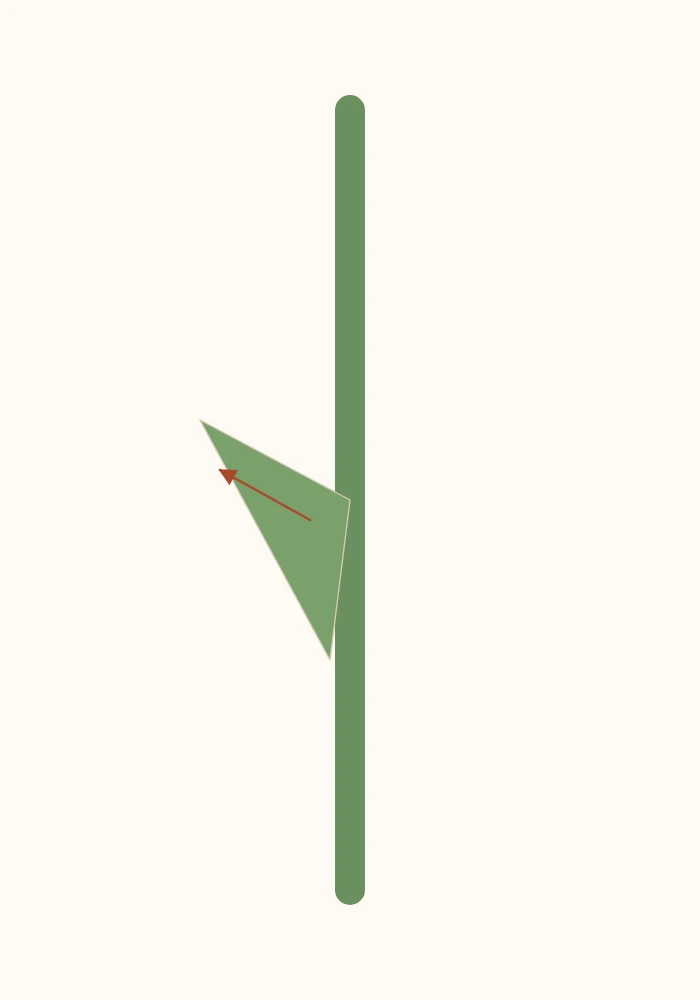
- Pull out the leaf. Near the middle of the stem, hold the inner layer and pull it out and down, opening a triangular flap. Adjust the angle: this flap is the leaf.
- Thin the top point if needed, so it fits into the hole in the flower.
Assembly
Fit the thin point of the stem into the hole at the base of the flower, pushing it in about 3/8 inch (1 cm). The friction of the layers holds it.
If the stem is loose, fold the point in half before inserting it; the extra bulk locks better. If it is too tight, thin it by rolling the point between your fingers.
Getting the Tulip to Stand
Three factors decide this:
| Factor | Recommendation |
|---|---|
| Stem paper weight | 80 gsm or more; thin paper bends under the weight of the flower |
| Stem length | Up to 6 inches (15 cm) is stable; beyond that, it needs support |
| Base of the stem | Open the lower layers slightly into a tripod |
For long stems, the simplest fix is to slip a bamboo skewer inside the stem before folding it in half. It disappears inside the paper and settles the support question for good, an important detail when the plan is an origami flower bouquet.
Color and Proportion Variations
Two things are worth trying:
- Flowers smaller than the stem. A 4-inch (10 cm) square for the flower and a 6-inch (15 cm) square for the stem gives a proportion closer to a real tulip, which has a small bloom relative to its stalk.
- Paper colored on both sides. Because the petals fold outward in step 7, the reverse side shows. Paper that is white on one side leaves a pale edge that can look pretty or unfinished, depending on the color.
When the Flower Will Not Close
Two problems come up again and again:
The overlapped points come apart. In step 4, the points need to go past the center and one needs to go inside the other, not just rest against it. If the two only touch, the flower opens when inflated.
The flower comes out lopsided. Almost always because the front and back overlaps were made at different heights. Make both while checking against the same reference, such as the height of the bottom edge.
If the layers are putting up a lot of resistance, the paper may be too thick: the waterbomb base already has four layers and step 4 adds two more. The relationship between paper weight and number of layers is covered in the guide to the best origami paper.
What to Do with Them
Single tulips work as table decorations, gift toppers, and keepsakes with a name written on a petal. In quantity they form arrangements, and that is where decisions about composition, height, and vase come in.
If you want a second species in the same arrangement, the origami lotus flower is built in a completely different way, in layers and with no stem, and contrasts well with the closed silhouette of the tulip.
Open or Closed Bloom
Step 7 allows two quite distinct finishes, and the choice changes the character of the arrangement.
Closed, with the points only slightly separated, the tulip looks like a bud about to open. It is the version closest to the real flower and the one that works best in quantity, because the silhouettes stay clean.
Open, with all four points curled well outward, it gains volume and looks more like a generic flower than a tulip. It does better as a single piece, where the volume pays off.
An arrangement that mixes the two, at about two buds for every open flower, tends to look more natural than a uniform set.
How Much Paper for a Vase
| Arrangement | Colored squares | Green squares |
|---|---|---|
| 3 tulips, small vase | 3 | 3 |
| 7 tulips, medium vase | 7 | 7 |
| 15 tulips, party arrangement | 15 | 15 |
It is worth cutting about 20% more paper than the count calls for. The first flowers in a batch almost always come out worse than the last, and it is good to be able to set them aside without interrupting the work.
Making the Tulip Last
Once inflated, the flower relies on the air trapped inside to keep its shape. With time and handling it sags, and blowing into the hole at the base again is enough to restore the volume.
If the piece is meant to be permanent, a small wad of cotton or crumpled paper pushed in through the hole before fitting the stem keeps the flower full. It is a discreet fix that does not show from the outside.
Frequently asked questions
Does the tulip stand up by itself?
Yes, as long as the stem is folded from paper of 80 gsm or more and its base is opened slightly into a tripod. With very thin paper, the stem bends under the weight of the flower.