Origami Paper Cup That Actually Holds Water
Six folds, no glue, and an object that really works for a few minutes. It is the model that best shows why lining up your points matters so much.
Tutorial at a glance
Materials
- One square of paper
- A smooth surface
Of all the traditional models, the origami paper cup is the quickest to convince someone that origami can be useful. Six folds, no glue, and you end up with a container that genuinely holds liquid for a few minutes: long enough to get a drink at a water cooler or give a child a dose of medicine.
It is also a great precision exercise, because the cup only stays leak-free if the two side folds are symmetrical. The model gives you instant feedback on how well you align your folds.
Step by Step
- Start with the square turned like a diamond, one point toward you, colored side down. A 6-inch (15 cm) square is a good size.
- Fold in half, bottom to top. Bring the bottom point up to the top point and crease. You have a triangle with the long edge at the bottom.
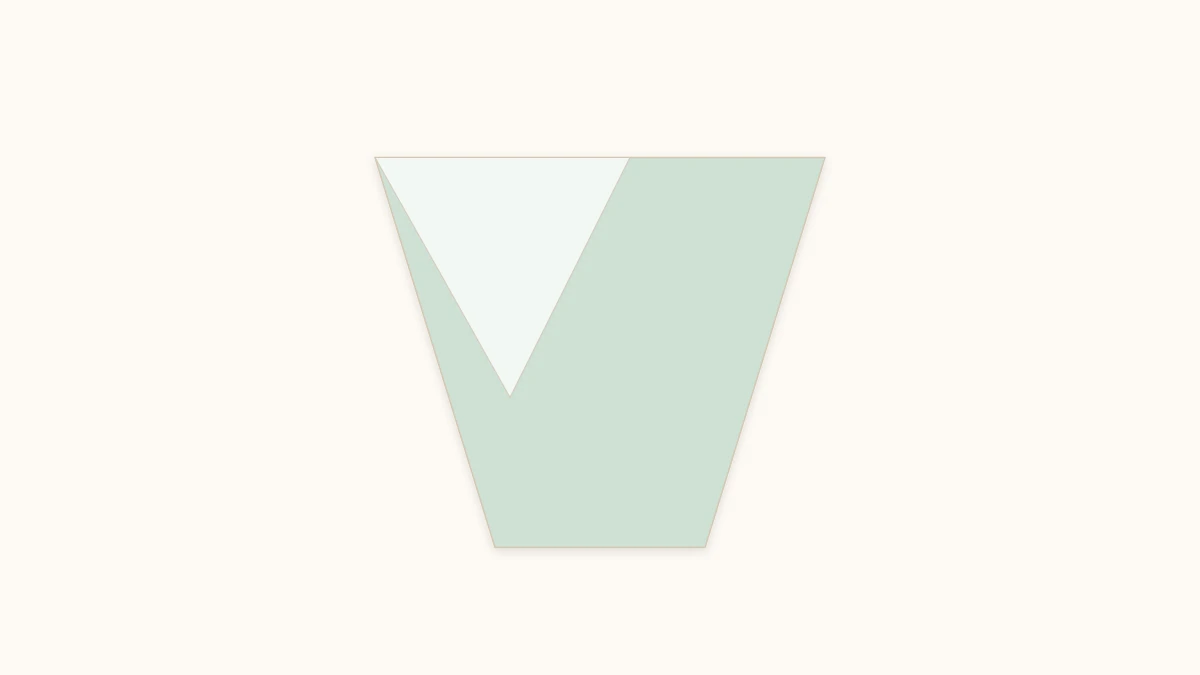
- Fold the right point to the left. It should cross the triangle and touch the left edge exactly. Once folded, the upper edge of this flap should run parallel to the bottom edge of the triangle.
- Fold the left point to the right, symmetrically: it crosses over the top and its tip touches the right edge. The two bands overlap across the front of the cup.
- Fold the front top point down over the bands, locking them in place. The crease sits right along the top edge of the body of the cup.
- Flip and repeat on the back. The other top point comes down on the reverse side, locking the back.
- Open the cup by pressing the sides toward each other. The mouth opens and the base settles.

The Detail That Decides Whether It Leaks
Everything hinges on steps 3 and 4. The two points need to cross at the same height and touch the opposite edge exactly, neither short of it nor past it.
If one crosses farther than the other, the bottom stops being a closed four-sided shape and a gap opens at the corner. In that case there is no point adjusting afterward: undo both creases and fold them again, checking where each point lands.
Tip
A quick test before you use it: hold the open cup up to the light and look at the bottom from the inside. If you can see light coming through at a corner, that is where it will leak.

Which Paper to Use, and Which to Avoid
For decorative use, any paper will do. For real use with liquid, two things matter:
- Avoid printed paper or recycled paper of unknown origin. Inks and additives are not meant for contact with drinks.
- Choose slightly heavier paper. Between 80 and 100 gsm, the cup keeps its shape longer before it softens. Very thin paper soaks through fast.
Even in the best case, count on only a few minutes. The cup is an emergency fix, not a permanent utensil. To see how paper weight changes that behavior, check the table in the guide to the best origami paper.
Other Uses Besides Drinking
The tapered shape with a flat base handles a few everyday situations well:
- Single servings. Nuts, candy, popcorn for one.
- A holder for seeds when gardening, or for screws during an assembly job.
- Party favor basket. In patterned paper with a ribbon glued to the rim, it becomes a favor, along the same lines as the pieces in the origami masu box guide.
- Makeshift funnel. Snip off the bottom point and the cup becomes a funnel for thick liquids.
Variation: Cup With a Handle
In step 5, instead of folding the whole top point down, fold only half of it, leaving the rest standing. The part left over works as a small grip and makes a full cup easier to hold.
It is a tiny change, but it illustrates a logic that runs through all traditional origami: nearly every model has variations created by small changes of angle or depth in the same creases.
After the Cup
If your cup came out clean and gap-free, your alignment is good enough for models with more layers. The natural path from here runs through the traditional bases, which organize the paper for bigger models, and later on to the crane (tsuru), where precise alignment stops being a detail and becomes a requirement.
How Much Each Size Holds
Volume grows fast with the side of the square, because the cup is three-dimensional: doubling the side of the paper multiplies the capacity by far more than two.
| Paper | Approximate capacity | Roughly |
|---|---|---|
| 4 x 4 in (10 x 10 cm) | about 1 fl oz (30 ml) | A sip, a dose of medicine |
| 6 x 6 in (15 x 15 cm) | about 3.5 fl oz (100 ml) | A small half glass |
| 8.25 x 8.25 in (21 x 21 cm) | about 8 fl oz (250 ml) | A full cup |
These are ballpark estimates, useful for picking a paper size. Actual capacity varies with the angle of the side folds and how far you open the mouth of the cup.
The Detail That Makes the Cup Stand Up
A well-folded cup stands on its own on a nearly flat base. If yours tips over, the problem is the angle in steps 3 and 4: points that cross at too steep an angle produce a pointed base.
The practical fix: when you fold the first point, keep the upper edge of the flap roughly parallel to the bottom edge. That keeps the base wide. The more that edge slants, the narrower the base and the less stable the cup.
Folded on the Spot, Anywhere
This is one of the few models worth truly memorizing, because it solves real situations: giving a child water, taking medicine, sorting seeds, serving a snack when you run out of containers.
With six folds and no need for a perfect square (an approximate one works), it is a very quick fold once you know it. If there are no scissors around to prepare the paper, the diagonal fold described in how to cut a perfect square handles it with no cutting at all: just tear along the crease.
Frequently asked questions
Can you really drink water from this cup?
Yes, as long as the paper is not printed or recycled from an unknown source, since inks and additives are not meant for contact with drinks. For real use, choose plain unprinted white paper, and count on only a few minutes before moisture opens the layers.
Why does my cup leak at the corner?
Because the two side points did not end up symmetrical. If one crosses farther than the other, a gap is left at the base. Undo those two side creases and fold them again, checking that each point touches the opposite edge exactly.