Origami Christmas Tree: A Freestanding Table Decoration
A tree that stands on its own, folded from a preliminary base, with tiered branches. In three sizes it becomes a small forest for the center of the table.
Tutorial at a glance
Materials
- Square green paper, ideally colored on both sides
- Scissors, only if you want to cut the branches
Paper Christmas decorations have one practical edge over store-bought ones: they take up almost no storage space, and you can remake them every year in different colors. This origami Christmas tree stands on its own, and in three sizes it becomes a small forest for the center of the table.
The tree starts from a preliminary base. If that structure is new to you, fold it once on its own first — the full sequence is in the guide to origami bases.
Materials
Square green paper, ideally colored on both sides, since the inner faces show once the tree is opened. A weight between 70 and 90 gsm works well: firm enough for the tree to hold itself up, light enough for the layers to close.
For a set, use three squares: 6 inches (15 cm), 4¾ inches (12 cm), and 3½ inches (9 cm).
Step by Step
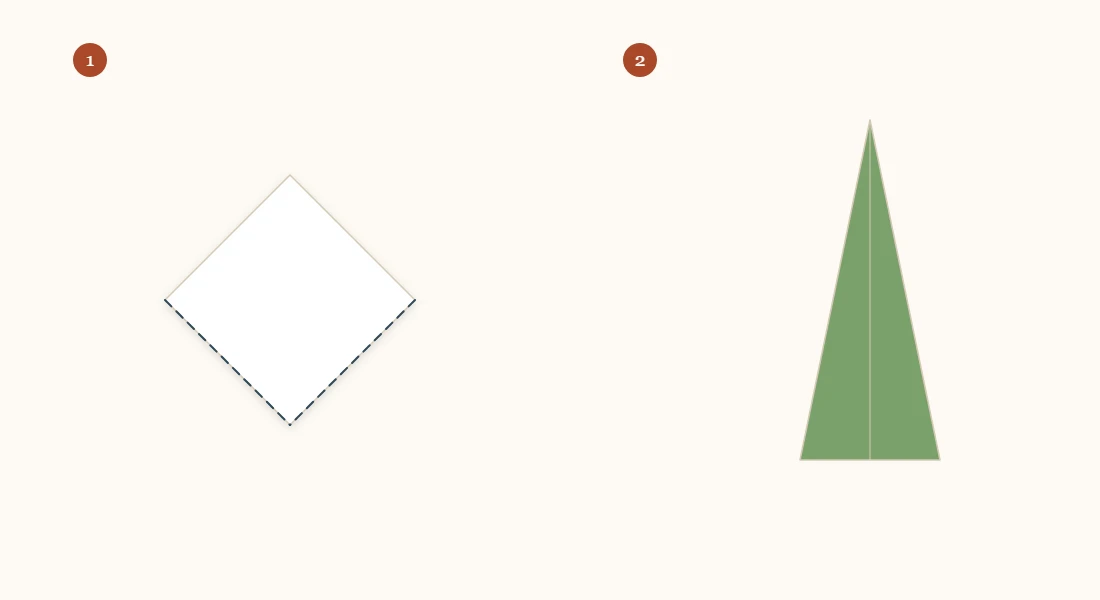
- Fold a preliminary base. Start with the colored side down, crease both diagonals as valley folds, flip the paper and crease the horizontal and vertical halves, then bring the four corners together to form a smaller, four-layer square. Position it with the closed point up and the open end down.
- Narrow the first face. Fold the two lower edges of the front layer to the center crease, like closing a pair of gates. The face becomes a kite shape.
- Flip and repeat on the back face.
- Work the inner faces. Turn one flap over as if turning the page of a book, exposing a face that is still plain. Fold its two lower edges to the center, just as in step 2.
- Repeat until all four faces are narrowed. The model now has a tapered profile, pointed at the top and open at the bottom.
- Open the base. Spread the four faces apart, like opening a closed fan, until they sit in a cross shape. The tree can now stand.
- Adjust the base by pressing the bottom tips lightly against the table until the tree sits steady.
Tip
All four faces need to be narrowed at the same angle. If one is tighter than the others, the tree leans. Compare two opposite faces before you open the base.
Giving the Tree Branches
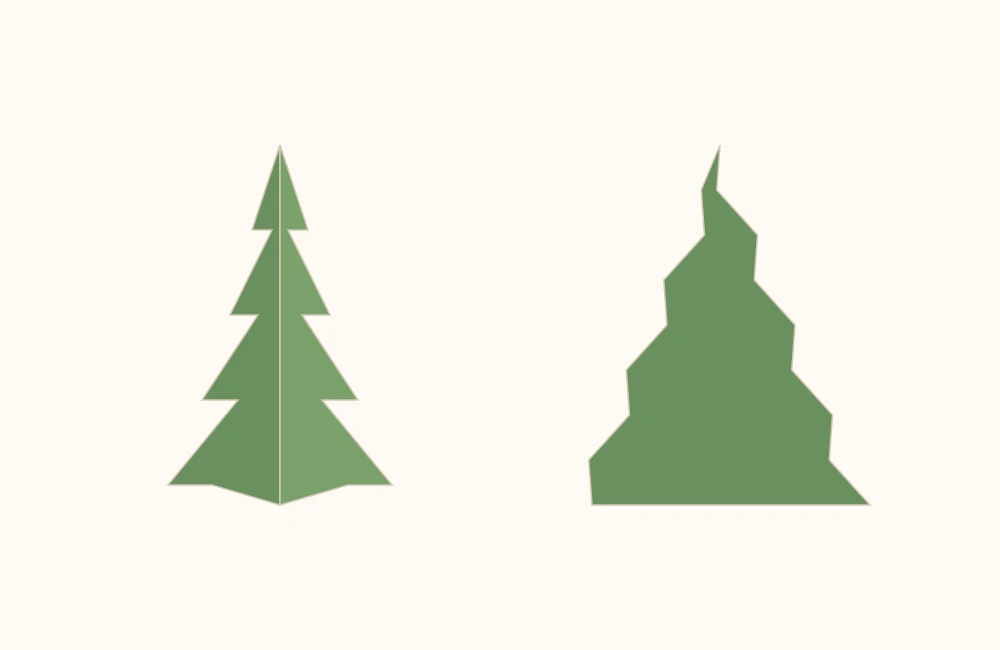
Folded as above, the tree is a smooth cone. For the tiered outline of a pine, you have two options:
With Pleats, No Cutting
Before step 6, make two or three horizontal pleats in each face, at the height where you want the branches. Each pleat is a valley fold followed by a mountain fold, and the resulting step casts the shadow that suggests a branch.
It is the more laborious method, and the only one that keeps the tree entirely folded, with no cuts.
With Scissors
After step 5, snip small triangles out of the side edges of each face, like teeth. When you open the base, the cuts line up and form the branches.
This is faster and the result is more obvious, but strictly speaking it is no longer origami.
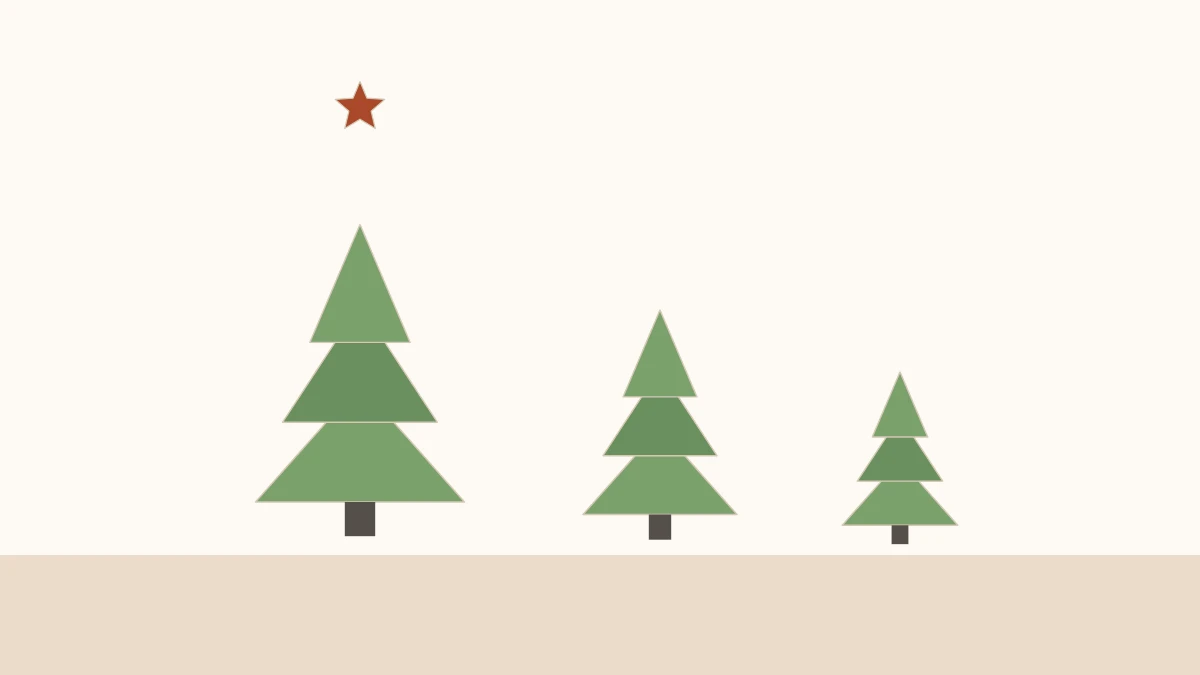
The Set of Three
| Paper | Tree height | Position in the arrangement |
|---|---|---|
| 6 x 6 in (15 x 15 cm) | about 4¼ in (11 cm) | Back, center |
| 4¾ x 4¾ in (12 x 12 cm) | about 3½ in (9 cm) | To the side, slightly forward |
| 3½ x 3½ in (9 x 9 cm) | about 2½ in (6.5 cm) | In front, off-center |
Three trees at different heights, arranged in a triangle rather than a row, give the display depth. The same composition logic applies to an origami flower bouquet: equal heights flatten the whole thing.
Finishing Touches
- A star on top. A small origami lucky star glued to the tip does the job with the same material.
- Snow. White glue brushed along the upper edges and dusted with sugar or glitter.
- Ornaments. Dots from a hole punch in colored paper, glued on as baubles.
- Light. A small LED tea light inside the tree, if the base is open wide enough. Never use a real candle with paper.
Hanging Them on a Real Tree
Folded from 3-inch (7.5 cm) squares, the trees are small enough to work as branch ornaments. Run a thread through the top with a fine needle and tie a knot.
At this size the layers are proportionally thicker and step 5 gets harder. Use paper of 70 gsm at most so the four faces still close.
Storing Them From One Year to the Next
Paper trees flatten well: close the four faces and store them flat, inside a book or a rigid folder. Next year, open the base again and they return to shape.
What ruins the decoration is humidity, not time. Kept dry, folded paper lasts for years without losing its creases — provided the paper has good crease memory, as covered in the guide to the best origami paper.
A Two-Layer Tree
Here is a variation with far more volume: fold two trees from squares of similar size — 6 inches (15 cm) and 4¾ inches (12 cm), for example — and slip the smaller one over the larger, lining up the tips.
Because both have four faces, rotating the top one 45° relative to the bottom one gives you eight visible points instead of four. The result looks considerably fuller and hides any lopsidedness in either piece.
A single dot of glue at the top is enough to hold it. Without glue, the upper tree tends to slide.
Paper That Works Well for This Model
Besides plain green, two kinds of paper give interesting results:
- Magazine pages that are mostly green or earth-toned. The irregular pattern suggests foliage, and the cost is zero.
- Kraft paper, for a set in a natural tone. It moves away from conventional Christmas colors and works all season as winter decor.
Foil paper, tempting as it is for the occasion, tends to disappoint: it does not hold a crease, and the tree springs open after it is assembled.
A Forest as a Centerpiece
Five to seven trees in three sizes, set on a table runner or a tray, make a cohesive arrangement that needs nothing else.
Two details lift the display: place the trees in odd-numbered groups — three on one side, two on the other — and leave empty space between the groups. Lining everything up in a straight row is the arrangement that works least well, because too much regularity makes it look stiff.