How to Make an Origami Envelope Without Glue for Notes and Cards
Two versions: a square one that closes with a locking flap, and a rectangular one that uses a full sheet of printer paper. Neither needs glue or tape.
Tutorial at a glance
Materials
- Paper between 80 and 120 gsm
- Ruler, to mark the flap
Store-bought envelopes are easy to find and hard to get right: they are never the size of the thing you want to put inside. An origami envelope adjusts to its contents, and when it is folded well it stays shut without glue or tape.
There are two versions here. The square one is the prettier of the two and has a flap that locks on the diagonal. The rectangular one uses a full sheet of printer paper and holds letters and larger cards.
Version 1: Square Envelope
Use an 8.5-inch (21.5 cm) square, the size you get straight from a sheet of US Letter paper, for an envelope about 4 x 4 inches (10 x 10 cm). A square cut from A4 is 21 cm and works the same way.
- Set the square as a diamond, good side down, with one corner pointing toward you.
- Fold the bottom corner up, stopping a little above the center. This fold forms the body of the envelope: the higher you stop, the taller the envelope.
- Fold the left corner to the right, across the center. It should go past the middle line.
- Fold the right corner to the left, over the previous one. The two overlap and form the sides.
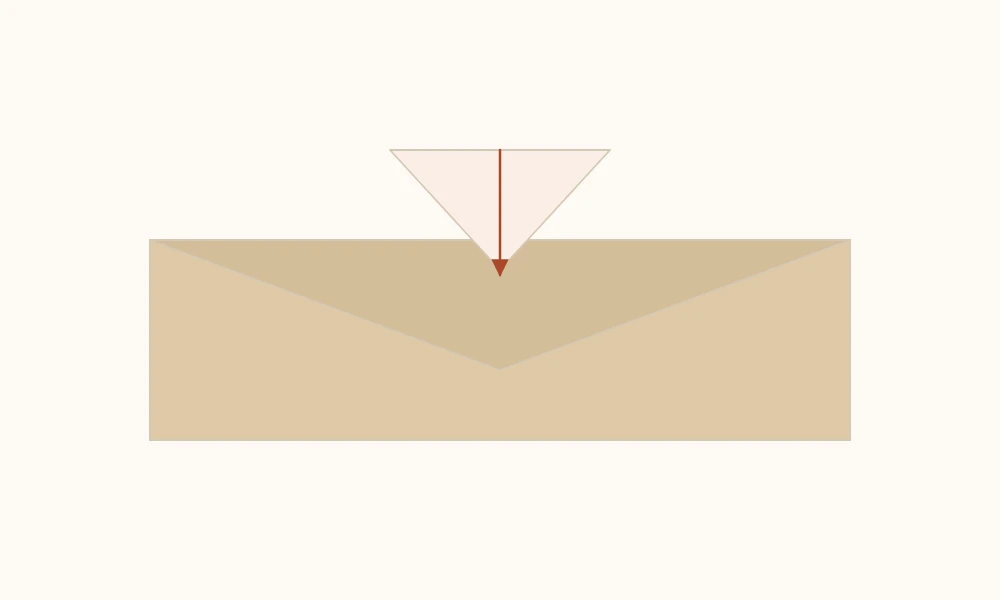
- Fold the top corner down. It comes down over everything and becomes the closing flap.
- Lock the flap. Tuck the tip of the flap under the crossed layers from steps 3 and 4. That tuck is what replaces the glue.
Tip
If the flap will not go in, use a fingernail to open the gap between the two crossed layers before tucking. Paper heavier than 120 gsm makes this lock much harder, so for envelopes stay between 80 and 120 gsm.
Version 2: Rectangular Envelope From Letter Paper
This one uses the whole sheet, US Letter (8.5 x 11 in) or A4, with no cutting and no scraps.
- Lay the sheet in landscape position, good side down.
- Fold the bottom edge up, covering about a third of the height. This is the pocket.
- Fold the left side in about 1 1/4 inches (3 cm), and repeat on the right. The sides close the pocket.
- Fold the top edge down so it overlaps the pocket.
- Lock the flap by tucking it inside the pocket, between the layers.
The result is roughly 8.5 x 3.5 inches (about 21 x 9 cm), which suits cards, folded notes, and paper money without having to fold the bills.
Which One for What
| Contents | Version | Suggested paper |
|---|---|---|
| Short note or message | Square | Colored paper, 80 gsm |
| Party or greeting card | Rectangular | Kraft or patterned paper |
| Cash | Rectangular | Opaque paper, never translucent |
| Seeds or powder | Square, with the corners glued | Wax paper or vellum |
| 4 x 6 photo | Rectangular, with a deeper pocket | Sturdy paper, 120 gsm |
How to Work Out the Size
In the square version, the envelope ends up about half the side of the square. For a 4-inch (10 cm) envelope, use 8.5-inch (21.5 cm) paper; for a 3-inch (7 cm) envelope, use a 6-inch (15 cm) square.
In the rectangular version, the width of the envelope is the width of the sheet minus the two side folds, and the height is set by where you fold the pocket in step 2.
If the square has to come from an ordinary sheet, the method is in how to cut a perfect square from printer paper.
Finishing Touches
A folded envelope takes a few simple additions well:
- Paper seal. An origami heart or an origami butterfly glued over the flap works as a decorative seal and reinforces the closure.
- Twine. Two wraps around the envelope and a bow. This solves the problem when the paper is thick and the flap will not lock well.
- Window. A rectangular cutout on the front, covered with vellum glued on the inside, shows part of the contents.
- Liner. A second, thinner sheet in a contrasting color, glued inside before folding. It shows on the flap and gives a polished finish.
When Glue Is Unavoidable
Both models above close with a tuck, but a tuck is not a seal: it opens easily. For contents that need to arrive closed, especially through the mail, glue the flap.
Weight is worth thinking about too. An origami envelope in thick paper, with a liner and a glued-on seal, can weigh more than a standard letter and cost more to send. For mailing, the rectangular version in 80 gsm paper is the safer choice.
For gifts handed over in person, the envelope pairs well with a small origami masu box: the box for the object, the envelope for the note.
Envelope With a Bottom, for Objects
The two versions above are flat and meant for paper. To hold something with volume, such as a piece of jewelry, a flash drive, or seeds, one change does the job.
In the rectangular version, before step 5:
- Fold the two bottom corners of the pocket inward on the diagonal, forming two small triangles.
- Push those triangles inside the envelope, as if you were shaping the bottom of a paper bag.
- Open the base with your fingers. The envelope now stands up and has depth.
The resulting bottom is about 1/2 inch (1.5 cm) deep, enough for small objects. The larger the folded triangles, the deeper the envelope and the shorter its usable height.
Sealing Without Glue
When the contents are delicate or the envelope will pass through other hands, a simple tuck is not enough. Three closures that keep glue off the flap:
- Holes and twine. Two holes in the flap and two in the body, with the cord threaded in a figure eight. It opens and closes as many times as you like.
- Button and string. One button glued to the body and another to the flap, with string wound between them, like the closure on a traditional string-tie envelope.
- Sticker seal. A round label stuck over the edge of the flap. It is the most discreet option and the only one that shows whether the envelope has been opened.
Tip
For seed envelopes, fold the square version in ordinary paper and glue both sides on the inside with a thin line of glue. Porous paper lets small seeds escape through the corners.