Origami Butterfly: A Quick Model That Makes Great Decor
It comes out of the waterbomb base in a few minutes and looks great in a series. Includes the curved-wing variation, which adds volume, and ways to mount it on a wall without damaging the paper.
Tutorial at a glance
Materials
- Thin square paper
- Removable double-sided tape, for mounting
The origami butterfly is one of those models that pays off in numbers. One takes a few minutes; twenty fill an afternoon and cover an entire wall. Because it starts from the waterbomb base, it also makes a good first practical use of that base once you have learned it.
Step by Step
- Fold a waterbomb base. Start with the colored side up, crease the horizontal and vertical halves as valleys and the diagonals as mountains, then push the sides inward until the paper collapses into a four-layer triangle. The full sequence is in origami bases.
- Position the triangle with the long edge at the bottom and the point up.
- Raise the two front corners. Fold the bottom left corner up to the top point; repeat with the bottom right. The front layer becomes a diamond.
- Turn the model upside down, with the wide end now toward you.
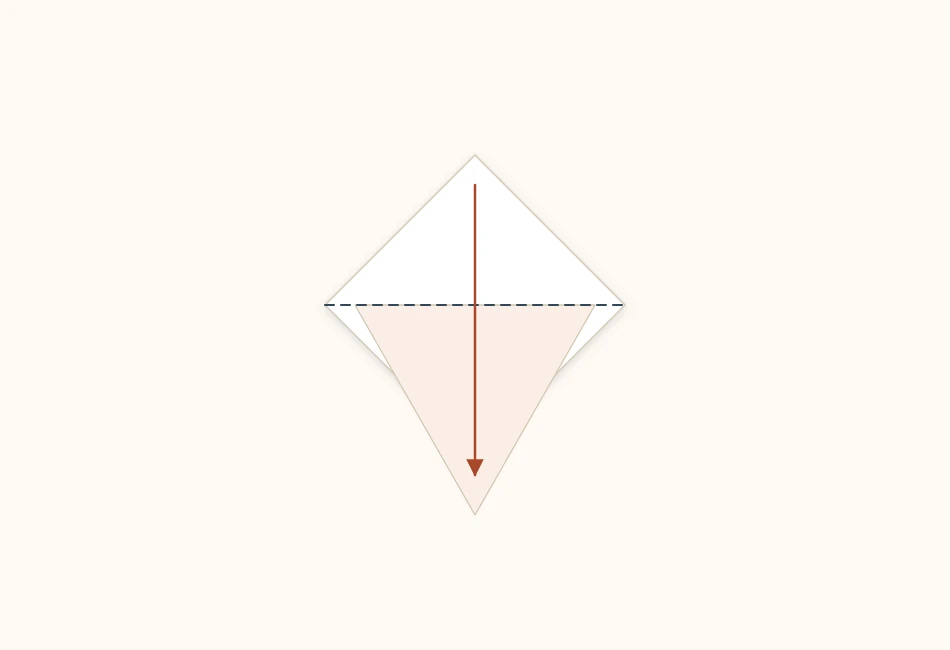
- Fold the double top point down until it extends slightly past the bottom edge. This part becomes the butterfly’s body and head.
- Fold the model in half along the vertical axis, taking one half behind the other. Press only the central area — the body crease.
- Open the wings. Spread the two halves to whatever angle you like. If the paper is firm enough, the butterfly holds that opening on its own.
Tip
In step 6, press the crease only along the central inch or so (2 to 3 cm). If you crease the whole body, the wings go flat and the butterfly loses the volume that makes it look as if it has just landed.
Curved-Wing Variation
After step 7, hold the butterfly by its body and run your thumb under each wing, from the inside out, curving the paper without creasing it. The motion is similar to curling gift ribbon, only much gentler.
The curve adds depth and makes a big difference when the butterflies are seen up close — on cards, for example. For wall displays seen from a distance, it is not worth the time.
Which Paper to Choose
Thin paper, between 60 and 70 gsm, is ideal: the waterbomb base already stacks four layers, and step 5 doubles the center again. Paper above 100 gsm leaves the body bulky, and the wings do not close well.
A few sizes cover most uses:
| Paper | Finished butterfly | Use |
|---|---|---|
| 3 x 3 in (7.5 x 7.5 cm) | about 2 in (5 cm) | Cards, gift wrap, pencil toppers |
| 4 x 4 in (10 x 10 cm) | about 2¾ in (7 cm) | Wall displays, mobiles |
| 6 x 6 in (15 x 15 cm) | about 4 in (10 cm) | Standalone piece, table decor |
Patterned paper works especially well here, because the wings are large, smooth surfaces. Small repeating prints do better than large motifs, which get cut up by the folds.
How to Mount Them on a Wall Without Damage
Three options, from safest to riskiest:
- Removable double-sided tape, applied only to the butterfly’s body. It holds well and comes off without marking the wall or tearing the paper.
- Poster putty. Good for repositioning while you decide on the layout.
- An insect pin through the body. It gives the prettiest effect, with the butterfly standing off the wall, but it puts a hole in both the paper and the wall.
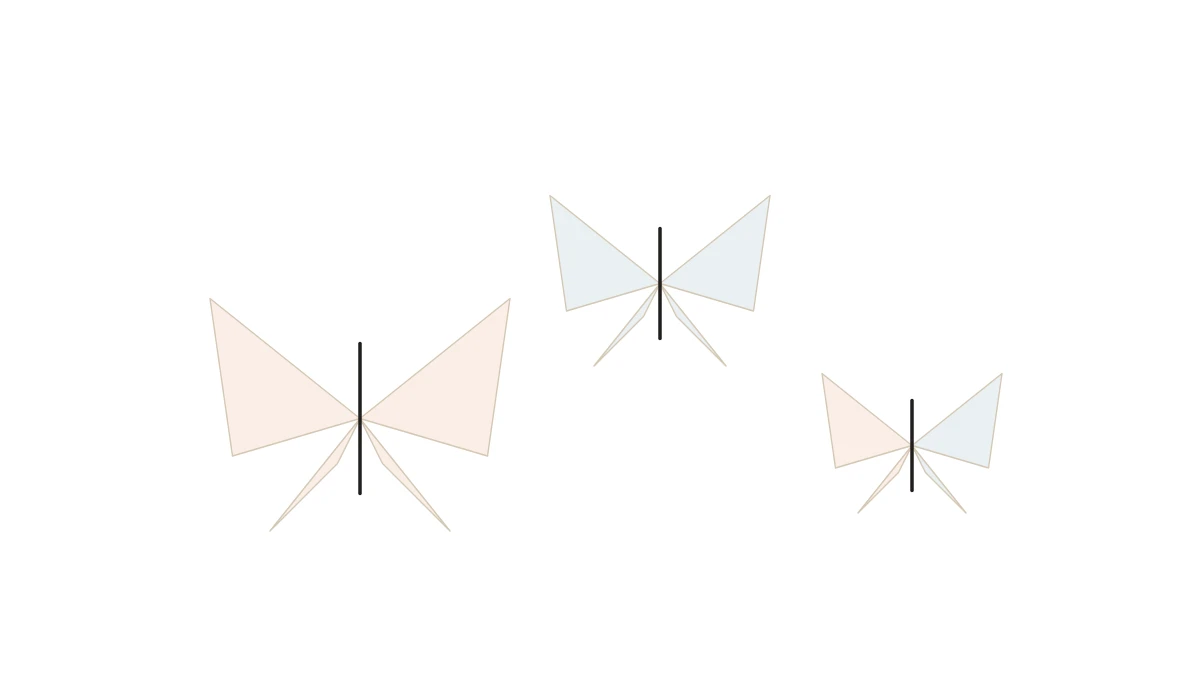
For a wall display, here is a composition that works: butterflies in three sizes, in two or three closely related colors, arranged along a rising diagonal with more density at the bottom. Irregular clusters look more natural than aligned rows.
On Mobiles and Gift Wrap
Because it is so light, the butterfly is one of the best pieces for an origami mobile: it turns in a faint draft and does not need heavy thread. Piercing the body with a fine needle, at the center, keeps it balanced.
On packaging, it neatly covers the seam of a folded origami envelope or the lid of a masu-style origami box, working as a decorative seal.
Antennae, Without Cutting
The basic butterfly has no antennae, but you can create them in step 5. Instead of folding the double top point down all at once, separate the two layers and fold each to one side, at slightly different angles.
The two small tips left above the body work as antennae. They show best on 6-inch (15 cm) paper; on small butterflies the detail gets lost.
Planning a Wall Display
The practical question for anyone covering a wall is how many to fold. Here is a rough guide by area, assuming a comfortable spread rather than a dense cluster. The times are loose estimates and will vary with your pace:
| Area | Butterflies | Rough folding time |
|---|---|---|
| Frame or wall niche (12 x 16 in / 30 x 40 cm) | 7 to 9 | about 45 minutes |
| Strip above a piece of furniture (about 3 ft / 1 m) | 15 to 20 | about 1½ hours |
| Headboard wall (about 20 sq ft / 2 m²) | 35 to 45 | 3 to 4 hours |
One composition detail makes a difference: mix three sizes on the same wall. Groups of identical pieces read as wallpaper; with varied sizes, the eye picks up movement and depth.
To fold in quantity, work by stage rather than by piece — make all the waterbomb bases first, then all the step 3s, and so on. It goes much faster than finishing one butterfly before starting the next.